
This is one skill I'm very thankful to have learned working at a hardware store. Plumbing is an interesting and necessary skill to learn - even if you're not building a new system. To repair your water systems in your home, know what parts to buy, or what the parts should act like that you need but aren't sure if they exist or not. I chose to go with a mixture of PVC and CPVC for the water lines in my truck, and with how easy it is to find and re-cut pieces for it, I would recommend it. Photos of my build specifically are going to be on the bottom of this page if you want to skip along~
Schedule 40 PVC (the normal strength you find in the store) is good for cold water applications only since it can only withstand a constant temperature of 73°F (21°C). It can deal with high temperatures temporarily without warping.
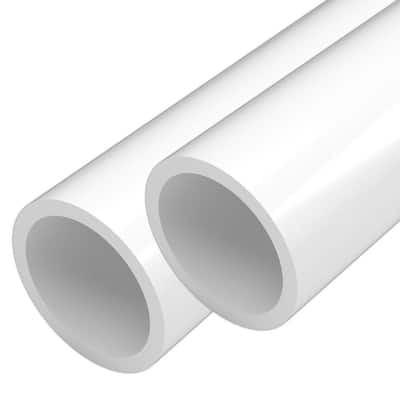 | |
| PVC pipe |
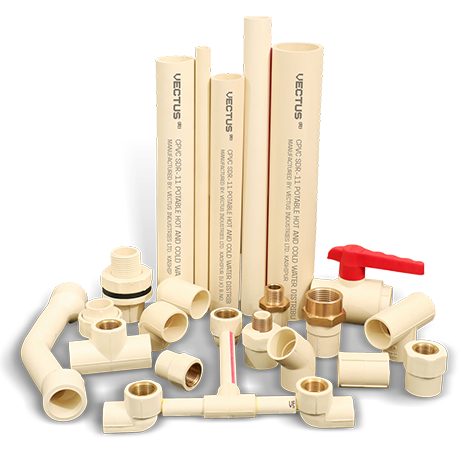
CPVC pipe comes in the same sizes as the PVC you would use for your water lines, except they can withstand temperatures up to 200°F (93.3°C). You can buy fittings at your local hardware store. They have a distinct khaki color and the threads are sometimes metal.
You can cut PVC with a chop saw, but I always cut it by hand with a fine toothed saw. Either way, you'll need to file the edge of the pvc smooth, and file the inside to remove any burs. The goal is to make it as smooth as possible. I use a half-round file with a curved edge and a flat edge on the other side, and it works perfectly.

Each type of pipe has different solvents that work best with them - I like to buy the combined pack primer with the red general cement since it works for both types, otherwise the orange can is for cpvc.

Cement works by breaking down the chloride compounds in the pipe to create a chemical weld. When you want to weld two pieces together, clean both pieces with the primer (where they would contact each other if you put them together) then add the cement to both pieces in the same place over the primer and push the pieces together. You have time to adjust them in the beginning but it's not too long. Hold them there with a little bit of force for about 15 - 20 seconds. When you apply the glue/cement, you don't need to drench the pieces for them to weld together - in fact too much solvent will fold up into the inside of the pipe and could block it or eventually break off and create leaks ironically. I recommend wearing elbow length rubber gloves (the primer will dissolve nitrile gloves) and welding a small piece of pipe to a slip or elbow so you can see the inside of the pipe, and see if you might be putting too much on. A little bulge on the inside by the connected edges is good - just not enough to block water movement.
---
Plumbing tips:
Teflon Tape: Teflon tape is a thin, white, stretchy and somewhat fragile tape that is added to external threads to help make sure it doesn't leak. Any fitting I used that threaded to another - I added Teflon tape to (There is a different type of tape used for gas applications that is yellow). You don't need too much on the threads for it to do the job; I usually go twice around the entire piece. The idea is that the tape will fill in the small gaps between the threads of the two joined pieces. Adding too much tape can cause some to rip off into the pipe when you tighten down a fitting onto the threads. It's almost better to have too little, or to only wrap the farthest threads to insure the tape won't shred into the inside.
Threaded connections vs Slip on connections: For some parts of your plumbing system, it's going to help you out in the long run to use threaded connections instead of only straight welded connections. Let's say you wanted to bring water to your sink; it would be easier for you in the future to replace your water valves if the piece they connected to was threaded, otherwise you would have to replace the entire line. If you have an appliance that you might upgrade in the future or make repairs on- make sure the water connection going to the appliance is threaded for a easy replacement or to add a shut off valve.
Adapters: The most important part of plumbing is understanding how you want it to work, and if you can think of it - there's probably an adapter already. These are also referred to as "brass fittings" as they're commonly made of solid brass. If you're using brass adapters, make sure they're lead free if you're using them for potable water. There's different types of threads in plumbing, different diameters, and different angles like a straight connection or an elbow.
NPT: Usually referred to as just Pipe thread; NPT (National Pipe Thread) is the type of thread you will find on PVC fittings and most items like nipples, unions, brass fittings, etc. Most pipe thread has a tapper on the end. NPT fittings are sealed with the white Teflon tape for water connections, or the Yellow Teflon tape for gas.
IPS: Iron Pipe Straight thread is the thread used for Black Iron pipe, commonly used for gas lines. This type of thread is similar to NPT but it is not tapered on the end. The threads per inch are the same for IPS and NPT, so they would screw together, but the lack of a tapered end on the pipe wouldn't create a leak-free seal.
Copper: Copper fittings have a smaller outer diameter than pipe/PVC, so their threads are slightly different. CPVC and Copper use the same thread size, coincidentally.
Compression fittings: These fittings are great for when you have a small line (like 1/4inch to 1/2 inch) and are used with poly tubing and soft copper. Because of the vibration from driving, I wouldn't recommend compression over other fittings, unless it's a short run.
Sharkbite fittings: These are a type of fitting that simply pushes unto a pipe and instantly grabs the outer wall, creating a watertight seal. These are great for small spaces or connections you just can't have leak - A lot of water heaters in your home have this type of fitting on one end of the braided line attached to the pipe. These fittings are removable with a little orange clamp-like tool, but these fittings are considerably more expensive.
PEX fittings: PEX pipe is very common to see in RVs and conversions, and for good reason. The pipe is cheap, the pipe is color coded for easy reference (blue for cold, red for hot - but they're really the same.) and they use barb fittings to attach pieces together. The downside to PEX is the initial cost of the crimping tool used to clamp down the pipe to the fittings, which runs about $120. In high pressure systems a barb fitting has more potential to leak - but the PSI of any water lines in your truck would probably be fine so long as the lines are secured well.
There are adapters to connect almost any type of pipe to another, so you have your options. There are times when something will have specialty threads, like oxygen tank fittings, that are their own thread and can not be adapted. Well, there's probably a way but it could take more digging to find them.
-------------
 |
 | |||||
The cold water runs through the wall to an external water heater, with hot water coming back in with that cpvc pipe
|

I have a 45-gallon water tank, more or less, and it's probably three to four feet below where I planned to put my water pump, so I bought a self-priming water pump which primes up to six feet (more than enough power to pull all that water vertically from my tank). If you can't find a pump that can self-prime to the height or the volume you need, then you'll have to buy a separate accumulator tank to use with your water pump to get the water up to your pump to pressure your water lines in the RV. I bought mine online (I believe HomeDepot) for about $60. The pump screws straight unto whatever surface you need it on, with vibration-eliminating rubber feet. Just make sure the motor is above the water lines in case the lines ever leak.
 | |
I just had to get a wall mounted faucet hm? And the valve stems were 5 inches long...  |
 | |
| I had to make the wall deeper than the normal 4 inches to use these stems. And PVC and CPVC are not the same size in circumference | |
 | |
| I wanted to panel the kitchen wall with clearance bamboo flooring I found at Lowes, but making sure I had the faces of the stems match up was difficult. |
 |
It turns out my original faucet couldn't reach the sink after the concrete counter was all set up. I figured I could either drill through my countertop, or I could use an adjustable faucet to reach down into the sink. I found this shower arm extender and planned to give it a shot! It also has normal 1/2" pipe threads on the end, so a simple cheap aerator fits on the end no problem. (this worked great btw)

I ran the lines to the shower in the ceiling - I did end up attaching them better with pipe clamps to the ceiling studs and insulating them to stop them from vibrating. (in case they do from the pressure)

 |
| It started to look much better once all the paneling got up |
 |
| I wanted to run in a switch to turn on the water pump before I sealed this wall |

 |
| I think it turned out quite nice - the extended wall portion didn't seem weird in the end |
Everything is a work in progress, but I'm fairly confident in the plumbing in the truck and that it's going to last for a long time.
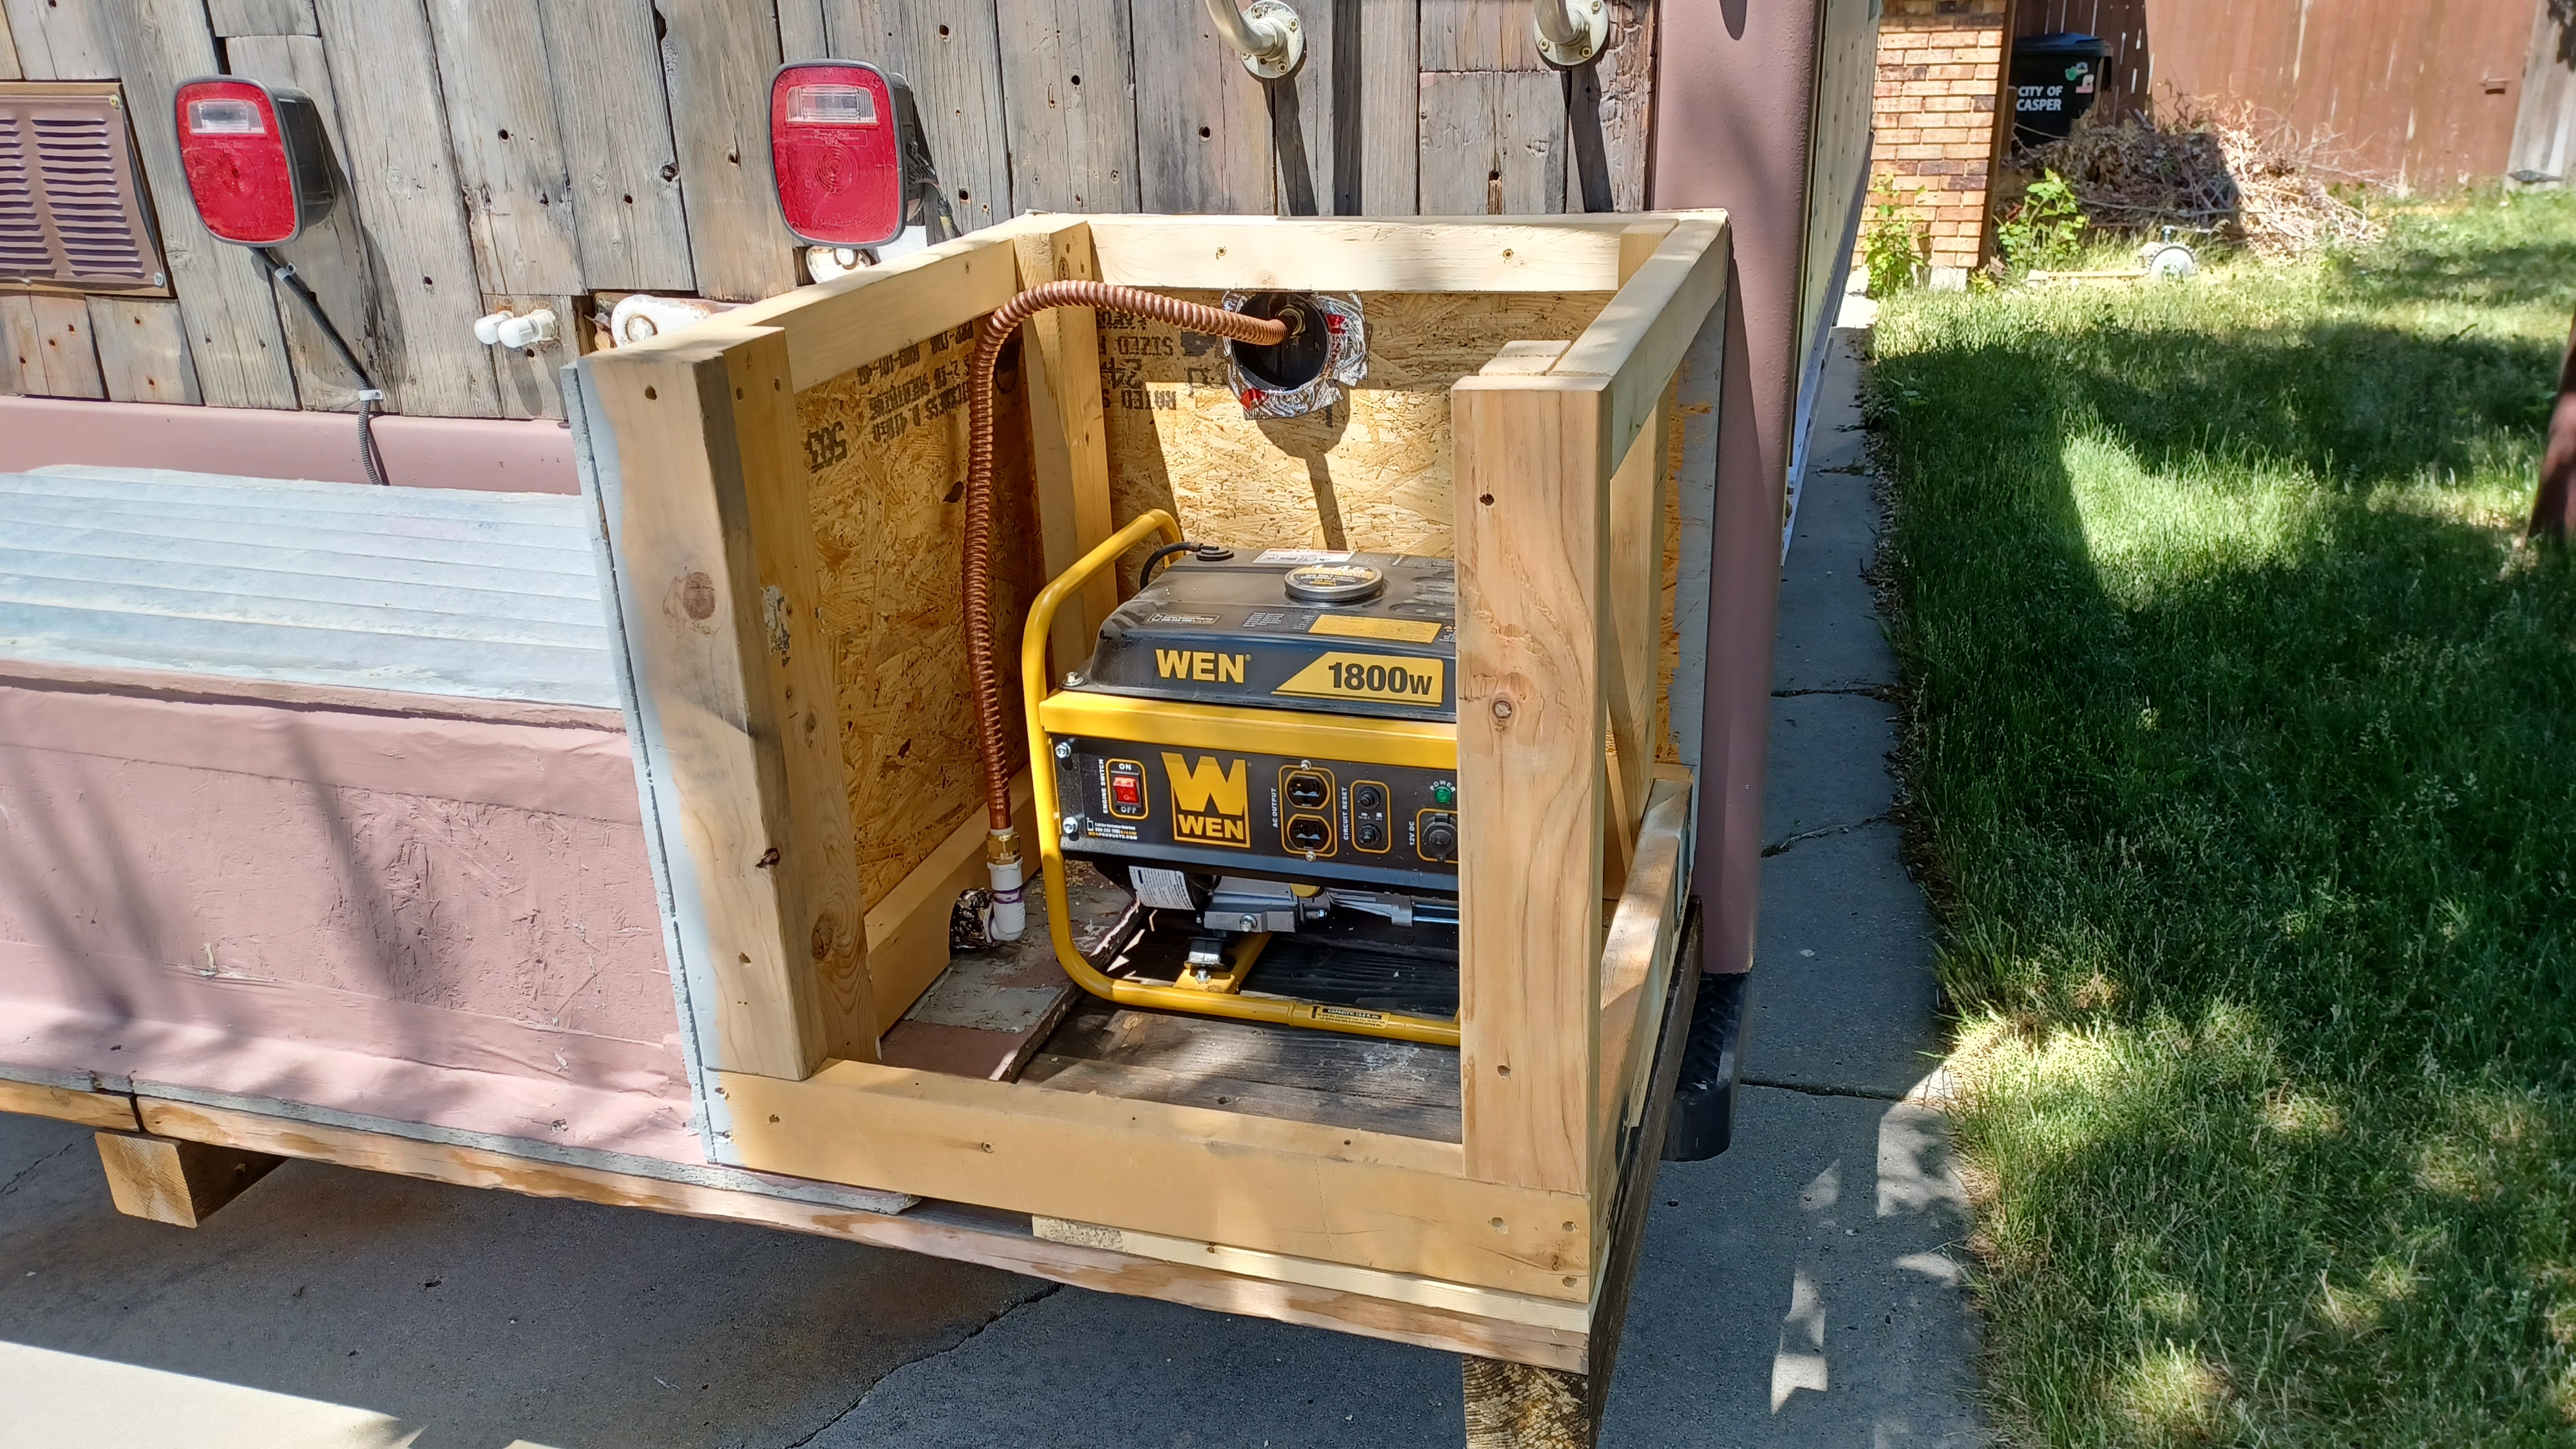
One thing I did add was a pipe warming kit to the outgoing pipe from the outdoor water tank, and I protected this line by putting it inside the generator storage box I built. I wasn't comfortable using pvc for the outgoing water line when I was putting a heating cable onto it - so I used a 3/4" diameter copper water heater line instead, and converted the fittings back down to 1/2" pvc fittings.
 |
| This is an old photo of the tank outlet before I added a drain valve, etc. |
Here are some links to specific plumbing projects:
-Build your own Water Tank - 45 Gallons
If you have any questions or just want to leave a comment, feel free to leave one below. Thanks for reading!
-Kelli
No comments:
Post a Comment